
DIY custom banner projects offer a practical, affordable way to make events, storefronts, or home spaces pop. Even if you’re new to graphic projects or sign-making, banners provide a forgiving, step-by-step path to polished results without needing professional design skills or expensive equipment. In this guide, we’ll cover planning, design, printing, cutting, and finishing so your banner can be displayed with confidence. Choosing the right banner materials and tools is essential, and a simple workflow helps beginners achieve durable, legible signs from a distance. As you explore topics like DIY banner for beginners, how to make a banner at home, custom banner design ideas, and banner making tutorial, you’ll build a solid foundation for future projects.
Beyond the straightforward term banner, this project can be understood as a DIY signage initiative, a home-based way to promote events, sales, or personal milestones. Alternative terms like sign, large-format poster, advertising banner, or wall-mounted display capture the same idea and tap into different search queries. The core concept remains: plan, design, print or transfer, and mount a durable, readable message that stands up to real-world viewing distances. By framing the topic with related ideas such as banner printing at home, banner design tips, and do-it-yourself signage, you align with common search patterns while keeping the description informative.
Frequently Asked Questions
What is a DIY custom banner for beginners, and how do I get started?
A DIY custom banner is a self-made sign you design, print, and hang with basic materials—perfect for events or storefronts. To get started, define the banner’s purpose and size, choose durable stock (vinyl for outdoors or fabric for indoors), pick a bold, high-contrast font, and design with a simple tool like Canva or Google Slides. If you’re exploring DIY banner for beginners, keep the plan simple and test readability from the intended viewing distance.
How do I make a banner at home for a DIY custom banner project, and what should I prepare?
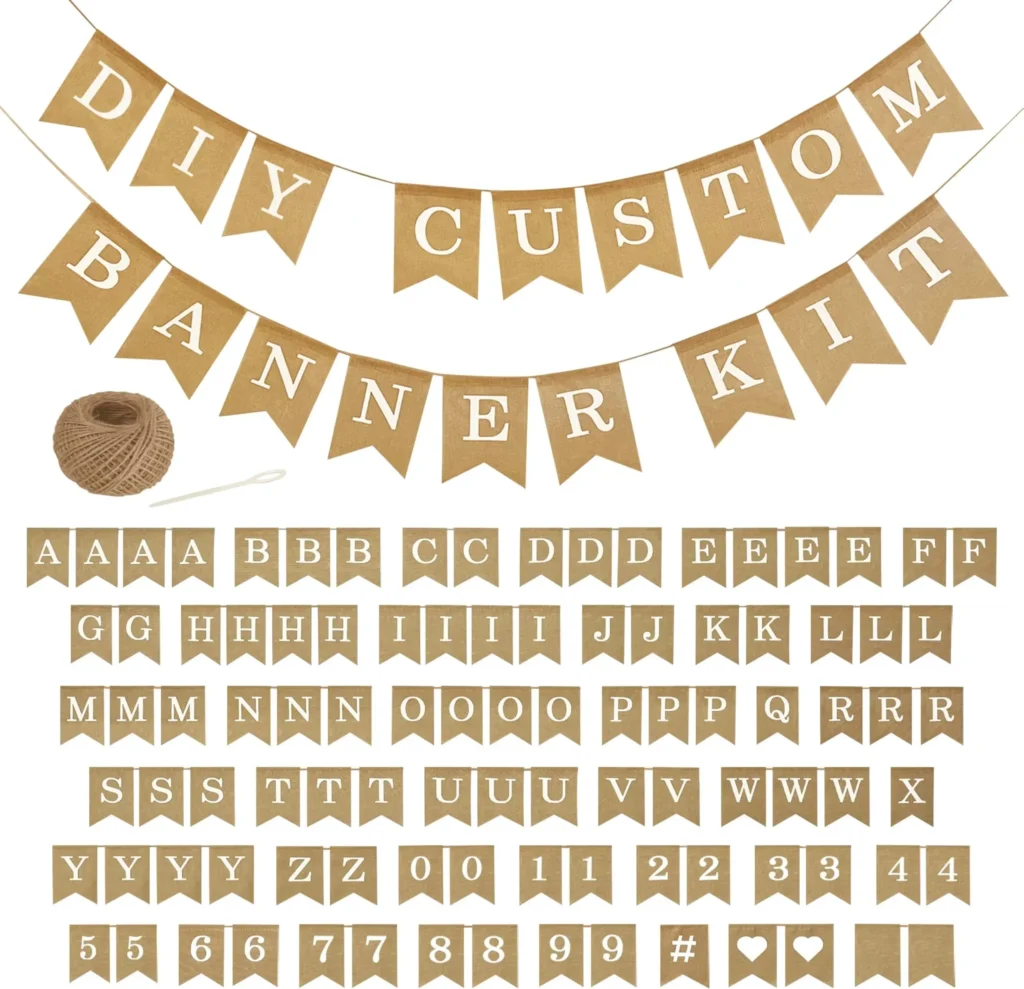
To make a banner at home, gather banner materials and tools such as vinyl or fabric stock, a cutting tool, ruler, and hanging hardware. Plan your message, choose a font and color scheme, and either print at home with printable banner sheets or use a local print shop for larger signs. This approach keeps costs down while delivering a professional look for a DIY custom banner.
What are some custom banner design ideas for a DIY banner project?
For custom banner design ideas, keep to simple, high-contrast layouts. Use bold typography, a clear logo or icon, and a concise message. Consider event themes, local branding, or informational layouts with bullet-style lines. These custom banner design ideas help you create an effective DIY banner that reads quickly from a distance.
Could you walk me through a banner making tutorial for beginners?
Here’s a concise banner making tutorial: Step 1 finalize the design with clear font pairings and color choices. Step 2 prepare the banner stock or fabric. Step 3 print or transfer the design, ensuring high resolution. Step 4 trim edges and add finishing touches. Step 5 install hanging hardware, and Step 6 test visibility from various distances. This beginner-friendly banner making tutorial keeps you on track for a polished DIY custom banner.
What banner materials and tools do I need, and what tips help ensure durability and readability?
Key banner materials and tools include vinyl banner stock (for outdoor use) or fabric, a ruler, a sharp utility knife, cutting mat, and a grommet kit or mounting hardware. For printing, an at-home inkjet with compatible banner sheets or a local print shop works well. Tips: choose durable finishes, maximize color contrast, keep text concise, and perform a test print to verify colors and readability before finalizing your DIY banner.
| Section | Key Point | Notes |
|---|---|---|
| Introduction | Purpose and accessibility of DIY banners | DIY banners offer a practical, affordable, step-by-step path for beginners; no need for pro design or expensive equipment. |
| Materials and Tools | Essential items and options | Banner stock (vinyl or fabric), cutting tools, ruler, hole punch or grommet kit, adhesives/mounting hardware; printing options (home inkjet or professional) for different sizes. |
| Planning Your Banner | Size, message, and design decisions | Decide display location, distance, and message; plan for size, font hierarchy, color contrast, margins, and readability from distance. |
| Step-By-Step Process | Beginner-friendly workflow | Step 1: Finalize design; Step 2: Prepare stock; Step 3: Print/transfer; Step 4: Trim/finish; Step 5: Hang hardware; Step 6: Display/test visibility. |
| Design Tips & Best Practices | Guidelines for effective design | Keep it simple with bold typography, high contrast, durable materials, brand alignment, test prints, and consideration of borders/bleed. |
| Common Mistakes & Solutions | Troubleshooting common issues | Poor contrast; awkward text wrap; inconsistent margins; printing errors. Solutions: adjust contrast/size, spacing, margins, and printer settings. |
| Creative Ideas | Inspiration and use cases | Event themes, local business promos, informational banners, and DIY home decor ideas. |
| Final Thoughts & Next Steps | Growth and experimentation | Practice improves speed and accuracy; as you gain experience, explore advanced techniques while applying core lessons. |
Summary
DIY custom banner projects are approachable and rewarding, offering a practical path from planning to finished display, and they scale from small storefront signs to large event backdrops. With the right materials, tools, and a clear plan, beginners can produce durable, legible banners that communicate a message at a glance. As you gain experience, you can experiment with advanced techniques like vector designs, color management, and finishing touches while staying within budget.