
The custom banner printing process is a journey from a simple concept to a vibrant, finished product that catches the eye and communicates your message, and it starts with a clear brief that defines audience, purpose, and where it will be seen. This journey benefits from a clear map that aligns creative intent with practical constraints, guiding you through the banner design to print workflow so teams stay in sync from concept through approved proofs. Whether you’re promoting a trade show, an event, or a storefront, a well-planned project leverages the strengths of large format banner printing to deliver impact, durability, and legibility at distance. Choosing the right materials and finishing options, considering wind and humidity, and planning the installation method early helps ensure the visuals stay vibrant, resilient, and easy to mount. By following a structured process, you can coordinate with designers and print teams to ensure proofing and approvals for custom banners stay on schedule and meet expectations, reducing reprints and costly delays.
Viewed through a different lens, this process becomes the signage production cycle that translates ideas into tangible graphics for events, storefronts, and campaigns. In other terms, designers and printers collaborate across the concept-to-creation continuum, moving from mood boards to print-ready files and final signage. The workflow for display graphics emphasizes prepress checks, material selection, and finishing consistency, so the final piece looks confident under real-world lighting. By adopting this broader lens—covering design concepts, production methods, and on-site installation planning—you can optimize outcomes and communicate your brand with clarity across channels.
From Concept to Print: Mastering the custom banner printing process for impactful banners
The custom banner printing process begins long before ink hits substrate. Start by defining goals and audience: what message, who will see it, indoor versus outdoor placement, viewing distance, and project timeline. This grounding feeds the entire production and maps to the banner design to print workflow, ensuring choices in size, color, and typography support readability and impact.
Gather brand assets—logos, fonts, color swatches—and note any regulatory requirements or brand guidelines. With clear goals in hand, you can streamline the later steps and set up effective proofing and approvals for custom banners that keep the project moving on schedule.
Design Brief and Concept Development: Translating Goals into Bold Visuals
Design Brief and Concept Development: With goals in hand, craft a design brief that guides typography, imagery, and visual hierarchy. For large format viewing, emphasize bold headlines, simple imagery, and high-contrast color schemes so the message reads from a distance; this aligns with the banner design to print workflow as you translate concept to print.
Collaborative iterations with stakeholders help ensure the concept remains on-brand across channels. As the design matures, lock in a consistent design language, select imagery and fonts, and prepare for color decisions and licensing considerations during the proofing and approvals for custom banners stage.
The Design to Print Workflow: Turning Concepts into Large-Format Reality
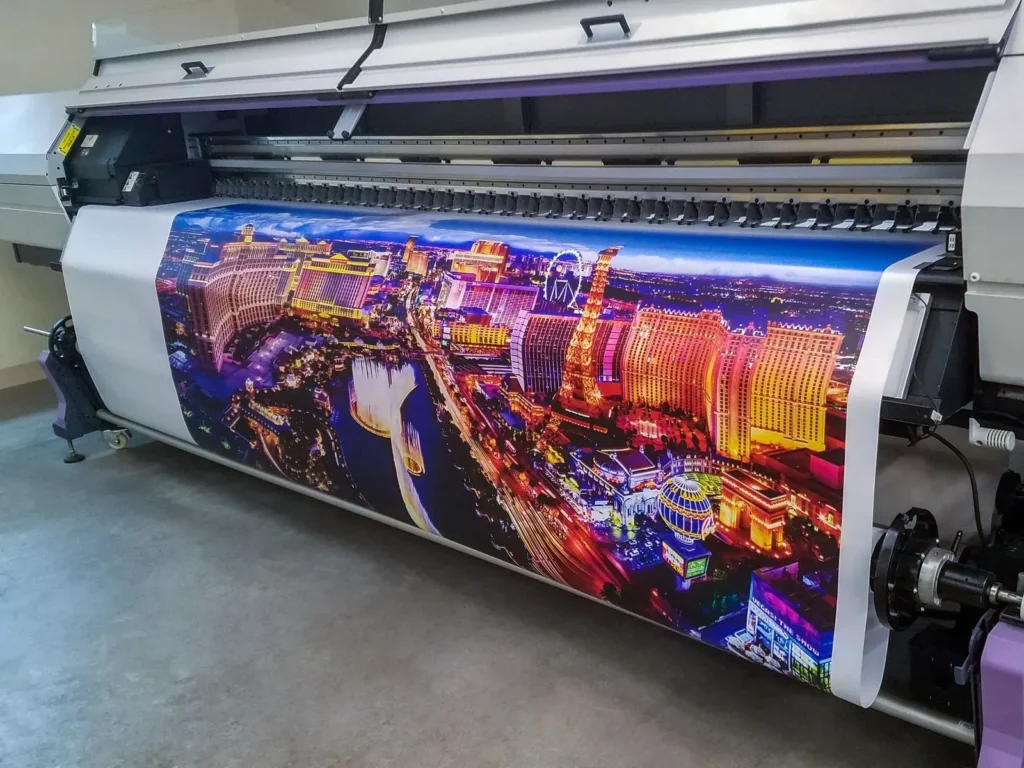
The Design to Print Workflow: Turning Concepts into Large-Format Reality. During this stage, digital files become print-ready assets. Prepare vector logos, high-resolution imagery (sized for the final output), and proper bleed and safe margins, while applying the appropriate color profiles to support large-format banner printing. Following the banner design to print workflow helps ensure each element translates accurately from screen to substrate, preserving legibility at distance and ensuring consistent branding. In parallel, implement color management for banners to maintain fidelity across proofs and final output.
Careful file management, layer organization, and license compliance help prevent production delays. Consider the chosen printing method—solvent, UV, latex, or dye-sublimation—and align it with location, weather exposure, and lifespan expectations to deliver a durable, vibrant banner.
Materials and Finishing Options: Choosing Banner Materials and Finishing Options
Materials, Finishing Options: Choosing Banner Materials and Finishing Options. Material choice directly affects durability, appearance, and cost. Indoor banners typically use matte or satin vinyl with strong color reproduction, while outdoor banners benefit from weather resistance and UV stability. Finishing options—hemming, grommets, pole pockets, and edge sealing—impact installation ease and long-term performance.
Selecting substrates such as vinyl, mesh, or fabric depends on wind, transparency needs for backlit displays, and humidity tolerance. If banners will be rolled or folded, prioritize lighter-weight materials and finishes that resist creasing, then plan finishing details to support easy mounting and cleanup.
Color Management, Proofing, and Approvals: Ensuring Accurate Banners Across Proofs
Color Management, Proofing, and Approvals: Ensuring Accurate Banners Across Proofs. Color accuracy hinges on ICC profiles, calibrated monitors, and real-world lighting to achieve consistent results from proof to print. Implement robust color management for banners to minimize shifts between soft proofs and physical proofs, and to align with client expectations.
Proofing and approvals for custom banners typically involve digital proofs, soft proofs, and small-scale physical proofs for sign-off. Clear, staged approvals reduce risks, keep timelines intact, and ensure the final banner matches branding, messaging, and color intent across the banner design to print workflow.
Frequently Asked Questions
What are the typical stages in the custom banner printing process from concept to final print, and how does the banner design to print workflow help?
The custom banner printing process typically begins with defining goals and audience, then moves through the design brief, concept development, and the banner design to print workflow. Proper file preparation (size, bleed, safe margins) and color profiles ensure accurate translation from design to final print, while early collaboration reduces revisions and keeps the project on schedule.
In the custom banner printing process, what should you consider for large format banner printing in terms of resolution, viewing distance, and print method?
For large format banner printing, plan for adequate resolution based on viewing distance (often 30–60 PPI at the final viewing distance). Choose a print method—solvent, UV, latex, or dye-sublimation—based on environment, durability, and budget to achieve the desired balance of color, permanence, and cost.
How is color management for banners handled during the custom banner printing process to ensure consistency across proofs and final print?
Color management for banners uses calibrated monitors, ICC profiles, and controlled lighting. Start with soft proofs, progress to physical proofs for critical color accuracy, and adjust profiles or materials as needed to align proofs with the final print.
What are the banner materials and finishing options that impact durability and installation in the custom banner printing process?
Banner materials include vinyl, mesh, fabric, and rigid substrates. Finishing options—hemming, grommets, pole pockets, edge sealing, and laminates—affect installation ease, durability, and suitability for indoor or outdoor use.
What is the role of proofing and approvals for custom banners in the production timeline and quality control?
Proofing and approvals help ensure the final product matches expectations before mass production. The process uses digital/soft proofs and physical proofs, with clear deadlines and sign-offs to minimize reprints and keep the project on track.
| Stage / Focus | Key Points | Notes |
|---|---|---|
| Introduction | Banners serve as branding canvases; the process runs from concept to final print; emphasizes durability, visibility, and print quality; the guide covers planning and coordination with design and print teams. | Sets scope and expectations for the project. |
| The Concept to Create: Defining Goals and Audience | Clarify purpose, target viewer, installation location, duration, and budget; gather brand assets; review regulatory requirements; set success metrics; a strong brief reduces revisions. | Foundational step that shapes size, material, color, and messaging. |
| Design Brief and Concept Development | Establish a clear visual hierarchy; ensure legibility at viewing distance; use bold headlines, simple imagery, and high-contrast colors; iterate with stakeholders; maintain brand consistency across collateral. | Prepares direction for cohesive branding. |
| From Concept to Print: The Design to Print Workflow | Prepare digital files for large-format reproduction (sizing, bleed, safe margins); use vector logos, 300 dpi+ imagery; select color profiles; account for viewing distance; organize layers; manage licensing. | Prevents translation errors in print and keeps production on track. |
| Materials and Finishing Options: Choosing the Right Substrate | Indoor vs outdoor needs; weather resistance, UV stability, tear strength; substrates include vinyl, mesh, fabric, and rigid options; consider wind, transparency, and water resistance; finishing options like hemming, grommets, pole pockets, edge sealing; lighter-weight materials may resist creasing. | Affects durability, installation, and overall look. |
| Size, Resolution, and Printing Method | Maintain 30–60 PPI at viewing distance for large banners; resolution depends on viewing distance; printing methods include solvent, UV, latex, and dye-sublimation; method influences color, durability, and environment; production team selects best option. | Aligns print technology with display goals and lifespan. |
| Color Management for Banners: Accuracy Across Proofs and Monitors | Use ICC profiles, calibrated monitors, and appropriate lighting; aim for color consistency from screen proofs to final print; use soft proofs early, physical proofs when color accuracy is critical; adjust profiles or materials if color shifts occur. | Ensures color fidelity across proofs and production runs. |
| Proofing and Approvals for Custom Banners | Digital/soft proofs and physical proofs (small print) for sign-off; verify layout, font rendering, image sharpness, color fidelity, and branding application; establish deadlines to prevent delays. | Mitigates misalignment between expectations and final output. |
| Printing, Quality Control, and Finishing | After proofs are approved, perform color accuracy checks, alignment, edge cropping, and material handling; print in passes or panels if needed; finish with hemming, seaming, grommets, or pole pockets; consider lamination for added durability. | Maintains print quality through production and finishing steps. |
| Turnaround, Installation, and Maintenance Considerations | Turnaround depends on size, materials, finishing, and proofing; outdoor banners may need weather-rated materials; plan installation hardware and wind load considerations; include maintenance and cleaning for longevity. | Planning for deployment and upkeep extends banner life. |
| Budgeting for a Banner Project: What Drives Cost | Cost drivers include material type, print method, size, finishing, and number of colors; premium finishes and anti-glare or reflective laminates add value but cost more; build budget to cover design, proofs, production, and installation. | Helps prevent budget surprises and guides decision-making. |
| Common Pitfalls and Tips for a Smooth Process | Start with a thorough brief; confirm file requirements early; choose materials suitable for installation; validate color with proofs; build in buffer time for approvals and potential reprints. | Promotes a smoother, faster production cycle with fewer revisions. |
Summary
Table presents key points from the base content about the custom banner printing process.