
Embroidery tension and puckering fixes are essential for turning challenging designs into clean, professional results, because every stitch depends on finding the delicate balance between the top thread and the bobbin that keeps stitches riding on the surface rather than pulling fibers into ridges or puffing the fabric away from the stabilizer when the hoop handles movement, density, and fabric texture. Understanding how thread type, needle choice, fabric weight, stabilizer, and stitch density interact helps you prevent fabric puckering in embroidery and anticipate tension-related problems before the first color passes, saving time and reducing waste; this means thinking about your fabric’s behavior in the hoop, the stabilizer’s holding power, and how the stitch plan will respond to movement during embroidery. A systematic approach to diagnosing tension issues involves a quick scrap test, verifying the top thread path, and checking bobbin tension; by isolating each factor, you can determine whether the problem stems from the top or bottom thread, the fabric stabilizer combination, or hooping technique. Once you identify the culprit, apply fixes in a controlled sequence: tune the top thread tension in small increments, adjust the bobbin tension, re-evaluate the stabilizer, ensure the fabric is properly hooped and taut, and then test on a scrap piece to confirm that the surface stitches lie flat and the density supports an even surface. Document your settings and outcomes to build a repeatable workflow that yields consistent results across fabrics and designs, turning tension and puckering challenges into predictable steps that you can apply to future projects.
In practical terms, science-minded readers may describe this as a focus on stitch balance, fabric stability, and stabilizer effectiveness, all of which contribute to a smooth embroidery outcome. LSI-friendly terms you might encounter include hoop stability, backing integrity, thread tension dynamics, and pattern density, which reflect the same core issue from different angles. By framing the topic with these related concepts, designers can build a vocabulary that supports better troubleshooting and optimization across machines, fabrics, and designs.
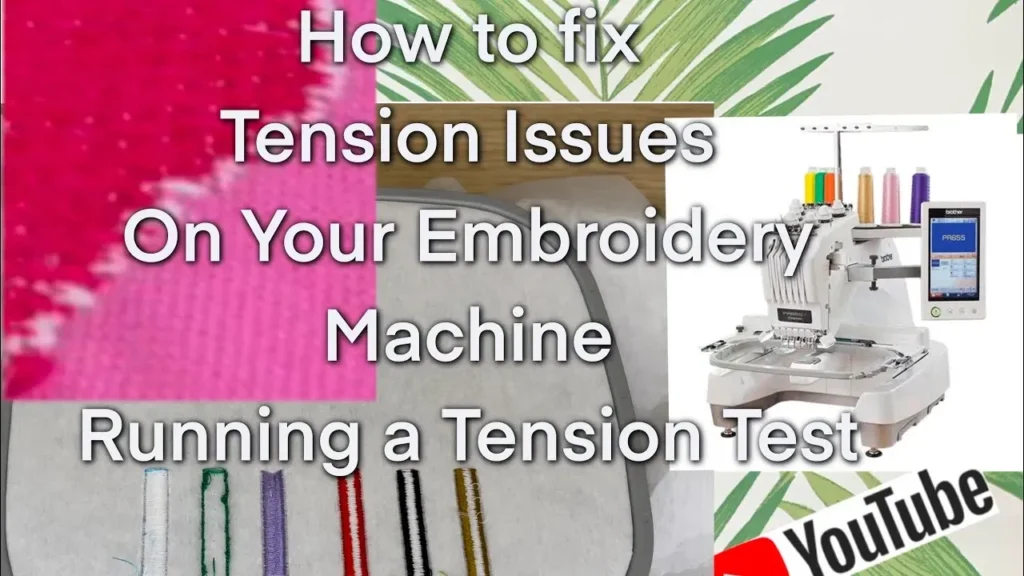
Embroidery tension and puckering fixes: achieving balance for clean stitches
Embroidery tension must harmonize the top thread and the bobbin so stitches sit neatly on the surface without gathering or waviness. This is the core idea behind Embroidery tension and puckering fixes: finding the right balance that minimizes puckering while preserving stitch definition. When tension is off, fabrics can show pulls, uneven fills, or ripples that undermine a design. By understanding how top thread tension and bobbin tension interact with fabric and stabilizers, you can create consistently smooth embroidery even on tricky materials.
This guide introduces practical, measurable steps to diagnose and fix tension-related issues. By testing with scrap fabric, adjusting needle and thread choices, and refining hooping and stabilizer combinations, you build a repeatable workflow. The goal is clean outlines, even fills, and minimal surface distortion, achieved through a structured approach to tension balance rather than guesswork. Through practice, you’ll transform tension and puckering challenges into a dependable, repeatable process.
Diagnosing embroidery tension issues: identifying embroidery tension problems across fabrics and stabilizers
Diagnosing embroidery tension issues begins with identifying where the problem sits: top thread, bobbin, fabric stability, or design density. This aligns with the concept of embroidery tension problems, where the symptom—puckering, loose stitches, or fabric gathering—points to a root cause. Start by testing with a scrap fabric and the same stabilizer and hooping method you used for the project to see if puckering appears consistently.
Next, inspect the top thread path and the bobbin. Ensure the thread is threaded correctly and that the bobbin tension is balanced. Evaluate whether the fabric stabilizer is appropriate for the material, as lightweight fabrics often need more stabilization while heavy stabilizers can distort edges. Document how different factors influence the outcome to guide future troubleshooting and prevent recurrence of issues like fabric puckering in embroidery.
Adjusting needle and bobbin tension for consistent embroidery results
A critical lever in consistent embroidery is adjusting needle and bobbin tension. The top thread and the bobbin work in tandem to create balanced stitches; when one side is too tight or too loose, puckering or gaps can appear. Begin with small, incremental changes to the top thread tension, then test on a scrap piece before proceeding to the final project.
Also, wind a fresh bobbin with even tension and test it separately using a short stitch. If the bottom thread shows looping or excessive tightness, tweak the bobbin tension mechanism or casing screw per your machine’s manual. Combining these measurements with appropriate needle type (sharp for woven fabrics, ballpoint for knits) helps prevent issues associated with embroidery tension problems and reduces the likelihood of fabric puckering in embroidery.
Stabilizer strategies to prevent fabric puckering in embroidery
Stabilizer choice and usage play a central role in preventing puckering. Lightweight fabrics typically need a more stable backing, such as tear-away or cut-away stabilizers, to keep edges flat and stitches secure. For knits or highly stretch fabrics, a multi-layer approach—stabilizer plus a backing—can maintain surface integrity during stitching.
Taping stabilizers to the fabric and using a backing under the design helps distribute tension evenly. When dealing with dense fills or large designs, an appropriate backing minimizes shifting and reduces fabric puckering in embroidery. By selecting stabilizers thoughtfully and testing in advance, you can significantly improve the surface quality of your embroidery and minimize tension-related distortions.
Hoop technique and fabric handling to minimize puckering and misalignment
Proper hooping starts with placing the fabric flat in the hoop and stretching it taut but not overstretched. Re-hooping during a project is often necessary when fabric shifts or tension changes mid-stitch. A secure hoop clamp that doesn’t leave impressions helps maintain consistent tension, reducing puckering and misalignment across the design.
During stitching, keep hands clean and avoid pulling the fabric as you move between sections. Smooth, even feed preserves stabilizer integrity and prevents uneven tension from transferring to the surface. Good hooping and fabric handling practices address a wide range of embroidery tension problems and contribute to cleaner, flatter embroidery results.
Troubleshooting embroidery design issues: density, underlays, and design tweaks
Design density and the presence or absence of underlays can significantly affect stitch balance. Dense embroidery on lightweight fabrics often needs underlay stitches or a slight reduction in density to prevent pulling and fabric puckering in embroidery. Evaluating design elements, such as fill patterns and stitch length, helps you troubleshoot effectively.
When troubleshooting embroidery design issues, consider splitting complex designs into multiple color passes or introducing lighter underlays to stabilize the surface. Testing on a scrap piece with the same stabilizer and thread helps you compare outcomes before stitching the final product. Keep a simple log of fabric type, stabilizer, needle size, and tension settings to streamline future projects and consistently achieve optimal Embroidery tension and puckering fixes.
Frequently Asked Questions
What is the first step in mastering Embroidery tension and puckering fixes when you notice fabric puckering in embroidery?
Begin by diagnosing whether the issue comes from top thread tension, bobbin tension, stabilizer, or fabric. Run a quick test on scraps using the same stabilizer and hooping method, then adjust one variable at a time. This approach is central to Embroidery tension and puckering fixes and directly addresses fabric puckering in embroidery and troubleshooting embroidery design issues.
How does adjusting needle and bobbin tension help with embroidery tension problems?
Adjusting needle and bobbin tension balances the top and bottom threads. Start with the appropriate needle for the fabric, then tweak the top thread tension if stitches pull or look loose, and adjust the bobbin tension if the lower thread nests or appears heavy. Test on a scrap piece to confirm the fix as part of Embroidery tension and puckering fixes and to address embroidery tension problems.
Which stabilizer choices best support embroidery tension and puckering fixes on lightweight fabrics?
Choose stabilizers that stabilize the surface without adding distortion: tear-away or cut-away for lightweight fabrics, plus a backing if needed for extra stability. Tape the stabilizer to prevent shifting and hoop the fabric correctly. This aligns with Embroidery tension and puckering fixes and helps mitigate fabric puckering in embroidery on light materials.
What role do stitch density and underlays play in fixing fabric puckering in embroidery?
Use underlays to stabilize the surface before fills, and reduce design density or split complex designs into multiple passes. These steps are key parts of troubleshooting embroidery design issues and Embroidery tension and puckering fixes, helping prevent raised or puckered areas on sensitive fabrics.
What are effective hooping and fabric handling practices to minimize tension-related puckering?
Hoop the fabric flat and taut, re-hoop when you notice slack, and avoid pulling the fabric during stitching. Ensure the hoop clamp holds securely without distortion. Good hooping and handling are essential components of Embroidery tension and puckering fixes and address embroidery tension problems stemming from improper hooping.
What should a practical testing routine look like for troubleshooting embroidery design issues related to tension?
Test on scrap fabric with the same stabilizer, hoop, and thread. Compare results, and keep a simple log of fabric type, stabilizer, needle size, top and bobbin tension settings, and outcomes. This practical testing routine is part of Embroidery tension and puckering fixes and directly supports troubleshooting embroidery design issues.
| Aspect | Key Points |
|---|---|
| What it is | Embroidery tension is the balance between the top thread and the bobbin thread. When tension is off, stitches can pull tight (puckering) or sit loose. The goal is a balanced tension for neat stitches and a smooth surface. Factors include thread type, needle size, fabric weight, stabilizer choice, and stitch density. |
| Common causes | Top thread tension problems; Bobbin tension issues; Fabric and stabilizer interaction; Hoop and fabric handling; High stitch density without underlay on woven fabrics. |
| Diagnosing the problem | Run tests on scraps with the same stabilizer/hoop; check top thread path and needle fit; test bobbin tension separately; evaluate fabric vs stabilizer; review stitch density and need for underlay. |
| Fixes: Step-by-step |
|
| Common fabric considerations | Wovens respond to moderate stabilizer and slightly reduced density; knits require gentler tension and a stabilized backing; lightweight fabrics benefit from tear-away or light cut-away; heavy fabrics may need more stabilizers and hoop tweaks. |
Summary
Conclusion: Tackling the topic begins with a systematic approach to tension balance, stabilizer choice, and hooping technique. By diagnosing whether the root cause lies in top thread tension, bobbin tension, fabric stability, or design density, you can apply targeted fixes that yield cleaner stitches and smoother surfaces. With practice and careful testing, you’ll develop a reliable workflow for any project and transform tension challenges into repeatable, successful Embroidery tension and puckering fixes. Remember to document settings and outcomes to speed future projects and continually refine fabric, stabilizer, needle, and thread combinations for the best Embroidery tension and puckering fixes you can achieve.