
custom patches unlock a world where branding meets wearable art, turning ideas into tangible badges. This guide shows how custom patch design blends concept, materials, and technique to create embroidered patches that tell a story. From color choices and backing options to stitch density, the process maps a path from sketch to shipment. Understanding the production workflow helps you plan quantities, reduce waste, and ensure consistency across batches. Whether your order is a limited run or a large-scale line, the right approach keeps your brand aligned with quality and timing.
In plain terms, these fabric badges bring brand identity to garments, bags, and gear, whether stitched, ironed on, or attached with a modular backing. Think of them as emblems, cloth insignias, or textile labels that carry meaning beyond decoration. The production journey—from concept and art to digitizing, cutting, finishing, and packaging—occurs on the factory floor to guarantee consistency and on-time delivery. Framing the topic with related terms such as badge art, garment branding, and badge manufacturing helps teams connect with stakeholders along the supply chain. This approach broadens outreach to designers, retailers, and fans who search for visual branding solutions in textiles, apparel, and accessories. The same idea can scale from a single emblem to an expansive line of coordinated branding items. By keeping the focus on quality materials, ethical manufacturing, and clear expectations, brands build trust with customers who wear the story.
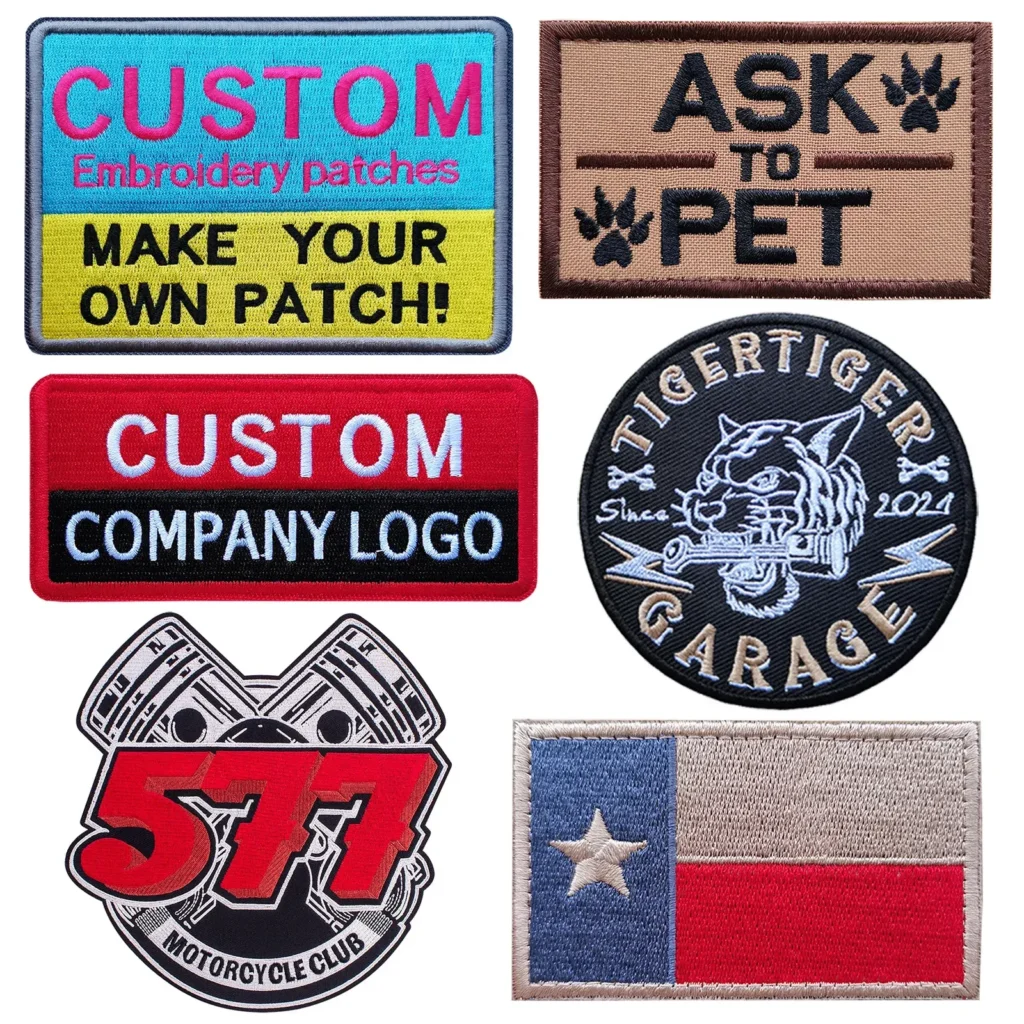
Foundations of Custom Patch Design: Concept to Creation
In the world of custom patch design, the journey begins with a clear concept and a practical constraint set that guides both aesthetics and manufacturability.
Designers start with clean, reusable files, a defined patch size, shape, and color palette to ensure the concept translates smoothly into embroidery and eventual production.
Material Selection and Backings for High-Quality Embroidered Patches
Material choices drive the feel, durability, and application of patches. For embroidered patches, common fabrics include twill, felt, and lightweight cotton canvas, while backings such as iron-on, sew-on, or Velcro influence how the patch is attached and reused.
Color fidelity is a practical concern; Pantone equivalents and early color-matching swatches help maintain consistency across batches and avoid surprises in production.
Digitizing and Stitch Strategy for Embroidered Patches
Digitizing converts a design into machine-readable stitches, a critical step for embroidered patches to reproduce detail faithfully.
A well-planned stitch strategy uses satin outlines, fill stitches, and underlay to balance appearance, durability, and fabric integrity, with edge considerations for die-cut or laser-cut finishes.
The Patch Manufacturing Process: From Embroidery to Edge Finishing
After digitizing, the patch enters the patch manufacturing process where embroidery, die-cutting or laser-cutting, backing attachment, and edge finishing create the finished piece.
Quality control at this stage checks color variances, stitch density, and edge alignment to ensure consistency and minimize rework before moving toward shipment.
From Sketch to Shipment: The Patch Production Workflow
From sketch to shipment, the production workflow aligns design intent with manufacturing reality, emphasizing pre-production proofs, size checks, and backing validity.
Large-batch production proceeds with confirmed specs, followed by quality assurance, packaging, and the logistics steps that ensure patches reach warehouses and retailers on time.
Quality Assurance, Sustainability, and Partnerships for Consistent Patches
To deliver consistent patches for brands, invest in rigorous QA, color libraries, physical proofs, and supplier alignment throughout the patch production cycle.
For custom patches, choosing the right supplier is crucial to meet quality, timeline, and budget while aligning with green production goals and responsible sourcing.
Frequently Asked Questions
What is the first step in custom patch design for embroidered patches?
The first step in custom patch design is to develop a clear concept and create a scalable custom patch design. Start with clean design files, set the patch size and shape, choose a color palette, and plan for digitizing so the embroidery process stitches it accurately.
How does the patch manufacturing process ensure quality for embroidered patches?
In the patch manufacturing process, steps include embroidery, die-cutting or laser-cutting, backing attachment, and edge finishing, followed by rigorous quality control to check color variance, stitch density, and edge alignment across batches, aligning with the patch production workflow.
What backing options are available for embroidered patches and how do they affect use?
Backing options include iron-on, sew-on, and Velcro backings. Iron-on offers quick application, sew-on provides permanence, and Velcro enables removable patches—the choice influences durability, ease of use, and placement in the patch production workflow.
What should you verify in a pre-production sample during the patch production workflow?
A pre-production sample should verify size, color, backing type, and edge finish before full-scale production. This step captures any adjustments early and reduces rework in the patch production workflow.
How can brands ensure color fidelity across embroidered patches?
To ensure color fidelity, use Pantone equivalents or a color library, request color-matching specimens early, and maintain a thread and fabric color reference to improve consistency across batches during the custom patch design and patch manufacturing process.
What does “from sketch to shipment” mean in patch logistics?
From sketch to shipment describes the end-to-end path: concept and custom patch design, digitizing, pre-production samples, large-batch production, quality assurance, packaging, and shipping, all planned within the patch production workflow to ensure on-time delivery.
| Stage | Key Points | Notes |
|---|---|---|
| Design and Concept | – Start with a clear idea; – use clean, reusable design files; – define size, shape, and color palette; – sketch multiple options; – decide backing (iron-on, sew-on, or Velcro); – balance single-color efficiency with full-color version; – translate concept into embroidered patch template. | Emphasizes turning ideas into a tangible, production-ready template for patches; prioritizes stitch economy, color fidelity, and durability. |
| Materials, Backings, and Fabric Choices | – Fabrics: twill, felt, lightweight cotton canvas; – Backing options: iron-on, sew-on, Velcro; – Pantone color matching; – Request color-matching specimens early to avoid surprises. | Quality and usability depend on fabric choice and backing; plan color accuracy from the start. |
| Digitizing and Embroidery | – Digitizing converts design to machine stitches; – create a stitch plan balancing satin outlines and fill areas; – include underlay stitches; – use proper edge trims for die-cut or laser-cut edges; – aim crisp, durable reproduction. | Translates art into stitch-ready files while preserving detail and preventing fabric distortion. |
| Patch Manufacturing Process | – Embroidery on patch fabric; – Die-cut or Laser-cut edges; – Attach backing; – Edge finishing (merrowed or satin); – Quality control for color variances, stitch density, and edge alignment. | Ensures consistent quality across batches and minimizes rework before shipment. |
| Production Workflow and Logistics | – Pre-production sample; – Evaluation and adjustments; – Large-batch production; – Quality assurance and packaging; – Shipping and logistics; – Maintain transparent production timelines. | Highlights the need for planning, communication, and timing to meet delivery goals.” |
| Tips for Studios and Brands | – Start with a detailed brief; – Build a color library; – Request physical proofs; – Factor in lead times; – Choose the right partner; – Consider sustainability in materials and packaging. | Practical advice to improve consistency, speed, and sustainability in patch projects. |
| Roadmap from Sketch to Shipment | – Translate concept into scalable design; – Select materials and backing; – Digitize carefully; – Validate with pre-production sample; – Monitor production workflow; – Ensure on-time delivery; – Align with brand ethos. | Provides a concrete sequence for turning concepts into market-ready patches while reinforcing brand values. |
Summary
The table above distills the base content into actionable stages for creating custom patches, from initial design concepts to final shipment, while highlighting critical decisions around materials, digitizing, manufacturing, and logistics. The roadmap emphasizes a repeatable process for consistent quality, cost efficiency, and timely delivery.