
DIY custom shirts have exploded in popularity as a creative, affordable way to express personal style from the comfort of home, turning simple fabric into wearable art that reflects your personality and mood. Whether you’re planning a batch for a family event, gifts for friends, or a budding home business, at-home design projects offer a satisfying blend of creativity, practicality, and the chance to build steady skills over time. You’ll explore custom shirt design ideas and learn how to translate ideas into print-ready artwork, comparing at-home screen printing with heat transfer designs to see which method fits your space, budget, and timeline. To get started, familiarize yourself with essential DIY shirt design tools, set up a clean workspace, and practice on inexpensive blanks before committing to your first small run. As your confidence grows, you’ll refine your color palettes, layouts, and finishing touches to deliver durable, comfortable shirts that invite compliments and encourage more DIY projects.
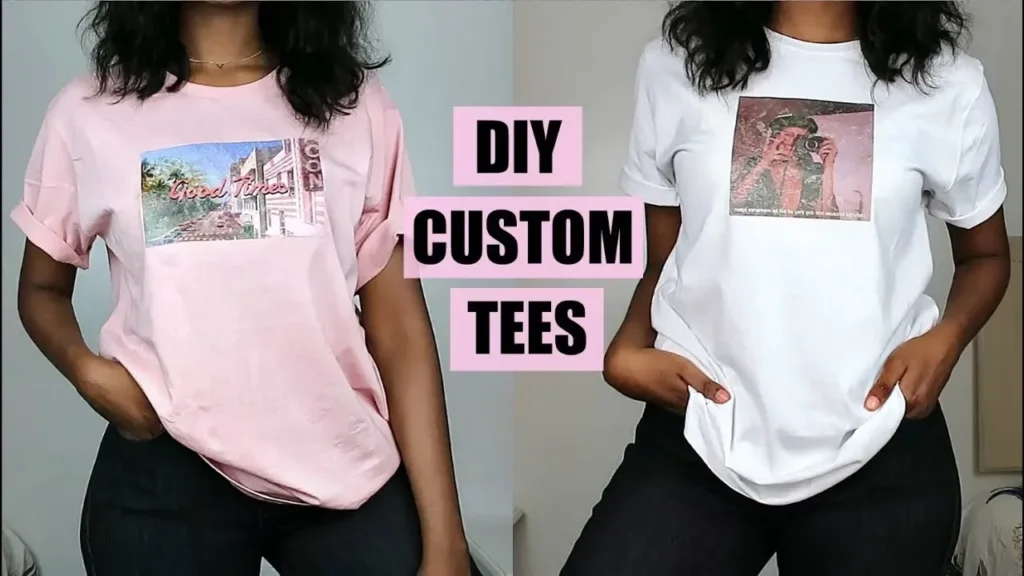
DIY custom shirts: turning ideas into wearable art
DIY custom shirts begin with a spark of inspiration and a plan for how it will translate to fabric. By pairing your personal style with practical print options, you can turn simple sketches into wearable statements. For those exploring custom shirt design ideas, the key is balancing bold concepts with feasible execution so you can create pieces that feel authentic without becoming overwhelming to produce.
As you map out your project, start with one or two designs and test them on inexpensive blanks. This approach supports a steady learning curve, letting you refine lines, spacing, and color decisions before committing to a larger run. The result is a collection of shirts that reflect your taste and craftsmanship, built through a thoughtful process rather than guesswork.
Custom shirt design ideas: typography, minimalist graphics, and theme collections
Exploring custom shirt design ideas opens up a world of possibilities—from typographic statements to minimalist graphics and cohesive theme collections. Typographic designs emphasize legibility and impact, using bold fonts and carefully chosen color contrasts to convey a message. Minimalist graphics rely on clean shapes and line art that translate well across printing methods, keeping production simple while still delivering a strong visual punch.
Theme collections help you build a recognizable line—think nature, music, or sports—by maintaining a shared aesthetic across multiple tees. Personalization elements like names or dates can add a sentimental touch to gifts or events. When you gather ideas, document them as templates you can reuse, which keeps your workflow efficient as you scale from one-off projects to small runs.
Essential DIY shirt design tools: building your home workflow
A productive DIY workflow hinges on reliable tools and a tidy setup. Essential DIY shirt design tools include a stable workspace, a printing frame and squeegee for at-home screen printing, emulsion and exposure kits for custom screens, and heat transfer options for quick transfers. Having a basic supply of HTV or printable transfer sheets, along with a heat source such as an iron or heat press, enables you to switch between methods without friction.
Stock up on the right blanks and cutting tools, plus protective materials to keep your workspace clean. Cotton or cotton-rich shirts are often forgiving for beginners, and stencils or masking tools can help with freehand designs. With a solid collection of DIY shirt design tools, you’ll move from idea to finished garment more smoothly and with consistent results.
At-home screen printing: a practical path to crisp, repeatable designs
At-home screen printing offers a cost-effective way to produce multiple shirts with sharp lines and bold colors. This method shines when you want repeatable results across a batch, making it ideal for small runs or family projects. A practical, step-by-step approach helps you translate your designs into screens, expose stencils, and manage ink application with a squeegee for even coverage.
Key tips for successful at-home screen printing include keeping designs high-contrast to ensure clean exposure, practicing on tees before final runs, and thoroughly cleaning screens to extend their life. As you gain experience, you’ll develop muscle memory for alignment and ink density, helping your at-home screen printing projects look more professional with less trial and error.
Heat transfer designs: beginner-friendly, quick results
Heat transfer designs offer a fast, beginner-friendly route to wearable art. HTV and printable transfer sheets can produce vibrant, durable prints with minimal equipment, making it easy to start small or print on demand. A simple workflow guides you from design formatting to cutting (for vinyl), alignment, and heat application, so you can see results in a matter of minutes.
Advantages of heat transfer designs include quick turnaround, less cleanup, and the ability to handle small batches or one-off shirts. Whether you’re preparing a gift or testing a concept for a future line, heat transfers give you flexibility and speed. For workflow optimization, consider using DIY shirt design tools to preview how designs will look on different shirt colors before you print.
Care, finishing touches, and building a repeatable DIY shirt process
Care and finishing touches are essential to preserve the look and durability of your DIY shirts. Proper curing of inks or coatings, washing inside out, and avoiding high heat help prevent cracking or peeling over time. A thoughtful finishing routine ensures your designs stay crisp through repeated wear and wash cycles.
To scale your effort, build a repeatable workflow that matches your space and budget. Start with a preferred method—whether at-home screen printing, heat transfer designs, or hand-painted accents—and gradually expand your toolkit. By developing templates, color palettes, and standard testing procedures, you’ll create a recognizable line of DIY shirts that reflects your brand or personal style.
Frequently Asked Questions
What are some DIY custom shirts design ideas to get started?
Starting with DIY custom shirts? Great design ideas include typographic statements, minimalist graphics, color blocking, theme collections, and personalization. These custom shirt design ideas translate well to at-home production because they rely on bold but simple artwork. Begin with one or two concepts and test them on inexpensive blanks to build confidence in your DIY custom shirts.
How can I start with at-home screen printing for DIY custom shirts?
Getting started with at-home screen printing involves: 1) choosing a simple design and preparing it for a stencil; 2) building or exposing the screen using an emulsion kit; 3) setting up a clean workspace; 4) applying ink with a squeegee; and 5) curing the print according to the ink instructions. This is a practical route for DIY custom shirts when you want crisp lines and bold color.
Are heat transfer designs a good option for beginners creating DIY custom shirts?
Yes. Heat transfer designs are beginner-friendly for DIY custom shirts and work well for quick turns or on-demand prints. Create or format your design for transfer, cut or print as needed, position on the shirt, apply heat with a household iron or press, and peel to finish. Using heat transfer designs can be done with basic DIY shirt design tools.
What are essential DIY shirt design tools for making DIY custom shirts?
Core DIY shirt design tools include a flat workspace, a printing frame and squeegee for at-home screen printing, an emulsion/exposure kit, heat transfer options (HTV or printable sheets), a reliable heat source, blank shirts (cotton or cotton blends), cutting tools, and protective materials. Investing in these DIY shirt design tools helps you achieve professional-looking results.
How should I choose between at-home screen printing and heat transfer designs for my DIY custom shirts?
Compare: at-home screen printing is cost-effective for multi-shirt runs with durable ink; heat transfer designs offer quick turnaround and ease for one-offs. Consider space, budget, and desired durability, then test a small batch to see which method best fits your DIY custom shirts project.
What quick design ideas from custom shirt design ideas work well for small batches of DIY custom shirts?
For small runs, stick to 2-3 color palettes and designs that print cleanly: typographic statements, minimalist graphics, color blocking, or personalization. These custom shirt design ideas scale well to at-home production and help you create cohesive DIY custom shirts efficiently.
| Aspect | Key Points |
|---|---|
| Introduction | DIY custom shirts have surged in popularity as people look for creative, affordable ways to express themselves through clothing. At-home design projects offer a satisfying blend of creativity and practicality, whether you’re making outfits for an event, crafting gifts, or starting a small tee business from home. This guide explains how to design, print, and finish DIY shirts that look professional, feel comfortable, and stand out in a crowded closet. |
| Design ideas |
|
| Tools and setup |
|
| Printing methods |
|
| From idea to apparel: design tips |
|
| Care and maintenance |
|
| Building a workflow |
|
Summary
DIY custom shirts offer a satisfying blend of creativity, practicality, and personal expression. This descriptive summary highlights how to design, print, and finish shirts at home, exploring ideas, essential tools, and printing methods that help you achieve professional-looking results. By starting with clear design concepts, selecting suitable DIY shirt design tools, and following practical steps for at-home screen printing, heat transfer designs, or hand-painting, you can build a workflow that scales from quick gifts to small runs. With patience and practice, your DIY custom shirts will become wearable art that reflects your unique style.