
Custom Embroidered Patches offer a durable, tactile way to showcase logos, mottos, and artwork across uniforms, outerwear, caps, and bags, turning branding into a visible texture that lasts and provides lasting value for brands seeking consistency in color, durability, and flexible application. From concept through the patch production process, designers balance shape, color, backing, and wear conditions to ensure the finished patches perform in the real world. A strong embroidered patch design starts with vector artwork that preserves crisp edges when scaled, with PMS color matching to guard consistency across production runs. As brands explore patch customization options, they consider shapes beyond circles or shields, thread finishes like metallics and glow-in-the-dark options, and edge finishing that conveys premium quality while withstanding washing and abrasion. With a focus on durability and brand fidelity, high-quality embroidered patches deliver lasting impact and versatility across teams, events, and merchandise, from club gear to corporate uniforms and ambassador programs.
In practical terms, the same idea can be described using related terms like emblem patches, badge embroidery, or stitched insignias. These variations share the same core concept, fabric-based apparel adornment created with machine embroidery and durable backing. Exploring this language helps search engines associate the topic with broader queries such as patch production process, embroidery techniques, and material choices. By aligning content with these semantically linked terms, brands can capture audience interest across sports, fashion, and corporate settings.
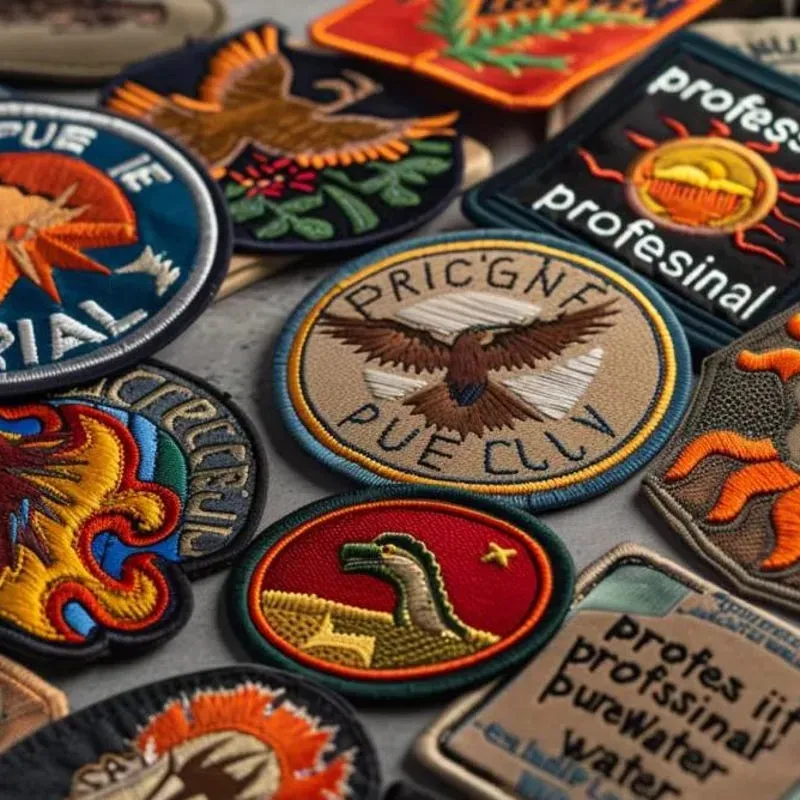
Custom Embroidered Patches: From Concept to Production
Turning an idea into a tangible patch starts with a clear brief that defines where it will be worn, who will see it, and what story it should tell. This stage anchors the patch production process by guiding size, shape, color, and backing decisions while ensuring alignment with brand guidelines and practical constraints.
With a solid concept, designers translate it into embroidered patch design-ready artwork, often using vector files and PMS color references to preserve crisp edges and consistent hues as production scales. Attention to stitch types, densities, and underlay during digitizing helps ensure the final patch performs well across different fabrics and wear conditions.
Embroidered Patch Design: Crafting Sharp Graphics for Longevity
The design phase converts ideas into stitch-ready art, emphasizing vector lines, defined fill areas, satin outlines, and precise stitch densities. Selecting the right stitch mix—satin for borders, fill for color blocks, and underlay for stability—keeps edges clean and lettering legible even on small patches.
Color accuracy is critical for long-term brand fidelity. Designers often map brand colors to PMS references and specify color changes within the embroidery file, ensuring that the final result remains true to the original artwork. When paired with durable threads, the embroidered patch design can resist fading and wear over time.
Materials, Backings, and Edge Finishing: Choosing the Right Foundation
Patch quality starts with base materials such as twill and felt, chosen for durability, color retention, and ease of stitching. Edging, often Merrowed for a crisp, professional border, protects the patch from fraying and adds a premium touch that enhances perceived value.
Backing options determine how patches are applied: iron-on for quick adhesion, sew-on for maximum durability, Velcro for removable patches, and heat-seal for certain fabrics. The backing choice, together with edge finishing, must align with the garment’s care, the wearer’s comfort, and expected wash conditions to maintain a consistent appearance.
Patch Production Process Essentials: Prototyping to Mass Customization
A successful patch project starts with a prototype to verify color accuracy, edge finish, and overall look before scaling up. This stage helps catch issues early and reduces revisions during the patch production process.
Once the prototype is approved, the production run proceeds with quality control checks at multiple points to ensure consistency. Finishing and backings are applied, packaging is prepared to protect color and stiffness, and clear timelines are established to support scalable, cost-effective mass production.
Patch Customization Options: Shapes, Threads, and Special Finishes
Custom Embroidered Patches embrace a wide range of customization options beyond standard shapes. Brands can experiment with irregular contours, unique outlines, metallic threads, glow-in-the-dark materials, and textured fills to create patches that stand out while conveying the intended brand story.
Choosing the right customization options involves balancing aesthetics with practicality. Consider logo complexity, color counts, and intended wear conditions to select shapes, thread finishes, and protective coatings that yield memorable, durable patches aligned with the brand identity and audience expectations.
Quality, Care, and Longevity: Ensuring High-Quality Embroidered Patches
Quality control is the backbone of reliable patches. Check edge alignment, color consistency against PMS references, stitch density, and backing integrity to ensure every batch meets brand standards.
Care and packaging decisions influence patch longevity. Providing care instructions, using protective packaging, and selecting appropriate backings for the garment type help ensure that high-quality embroidered patches endure repeated wear and washing, maintaining their appearance and impact over time.
Frequently Asked Questions
What are Custom Embroidered Patches and how does the patch production process move from concept to final product?
Custom Embroidered Patches are durable fabric patches embroidered with logos or artwork for branding and style. The patch production process starts with a clear brief, then design and digitizing, followed by a prototype or color-verified sample, client approval, and a production run. Finishing adds the backing and edge (Merrow) along with packaging, and a final quality check ensures consistency—resulting in high-quality embroidered patches.
How should I approach embroidered patch design for Custom Embroidered Patches?
Begin with vector artwork that preserves sharp edges for embroidered patch design. Convert brand colors to PMS colors for color accuracy, and specify stitch types (satin for outlines/ lettering, fill for large color fields) and densities. Proper digitizing sets the stage for clean edges and legible lettering in Custom Embroidered Patches.
What patch customization options are available for Custom Embroidered Patches?
Custom Embroidered Patches offer flexible patch customization options beyond standard shapes: shapes and sizes, backing types (iron-on, sew-on, Velcro, heat-seal), edge finishing like Merrow, and thread finishes (matte, metallic, or specialty effects). These choices help align patches with brand identity and application.
What materials and backings are used for Custom Embroidered Patches to ensure durability?
Base fabrics such as twill or felt provide strong foundations for embroidered patches, while backings determine how patches attach—iron-on, sew-on, Velcro, or heat-seal. Merrow edging adds a premium, fray-free border, and the overall combination should match wear, care, and application to produce high-quality embroidered patches.
How can I ensure color accuracy and longevity in Custom Embroidered Patches?
Work from PMS color references and verify colors against approved swatches. Choose durable thread (polyester is common for colorfastness) and balance stitch density to prevent wash-out. Conduct wear and wash tests and implement QC checks to ensure long-lasting Custom Embroidered Patches.
What common pitfalls should brands avoid when creating Custom Embroidered Patches?
Avoid underestimating patch size or density or unclear design briefs; miscommunication of PMS colors; choosing a backing that doesn’t suit the garment; skipping prototypes; overcomplicating with too many colors or complex shapes. Following a phased patch production process minimizes these risks and helps deliver high-quality embroidered patches.
| Aspect | Key Points | Notes / Examples |
|---|---|---|
| Concept & Brief |
|
Shape and backing choices influence production complexity and wear. Example: circular club patches vs irregular fashion shapes. |
| Design & Artwork |
|
Clear digitizing guidance saves time and reduces production edits. |
| Materials & Backing |
|
Choose backing/edge to suit application and wash conditions. |
| Digitizing & Embroidery |
|
Proper settings prevent distortion and color bleed during production. |
| Production Process |
|
A clear plan reduces lead times and aligns design with output. |
| Quality Control |
|
Consistent QC yields reliable patches that meet brand expectations. |
| Finishing & Packaging |
|
Proper finishing enhances durability and customer satisfaction. |
| Customization & Use Cases |
|
Ensure shapes and backing match real-world use and audience expectations. |
| Cost & Timeline |
|
Partnering for end-to-end services can reduce surprises and lead times. |
| Common Pitfalls |
|
A phased approach—from concept to prototype to approval—helps prevent issues. |
Summary
Conclusion table provided above.